Building the Team Raffee Co. 1/10 Pop-Up Camper Trailer
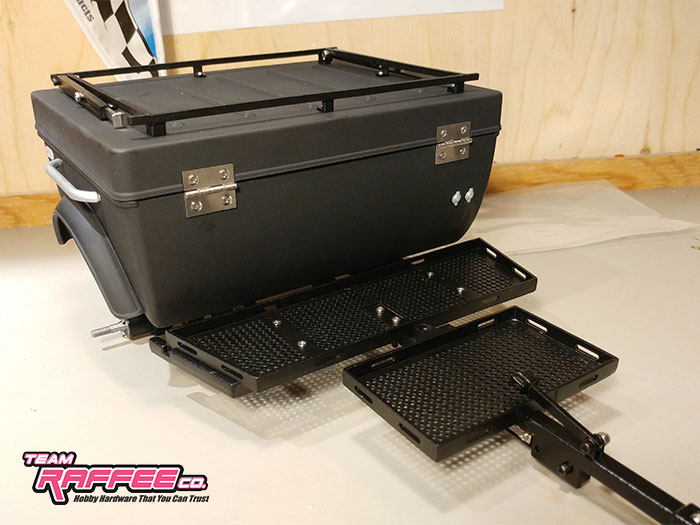
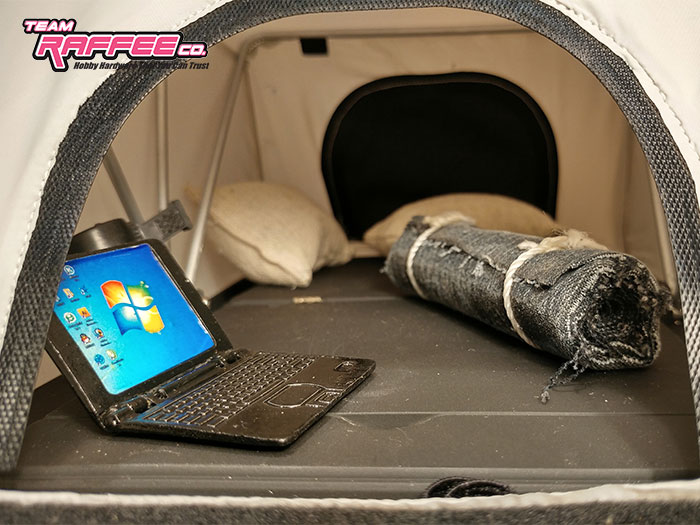
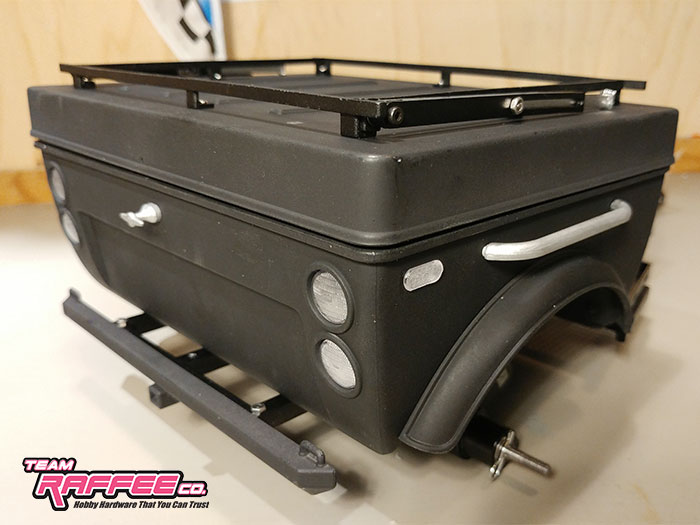
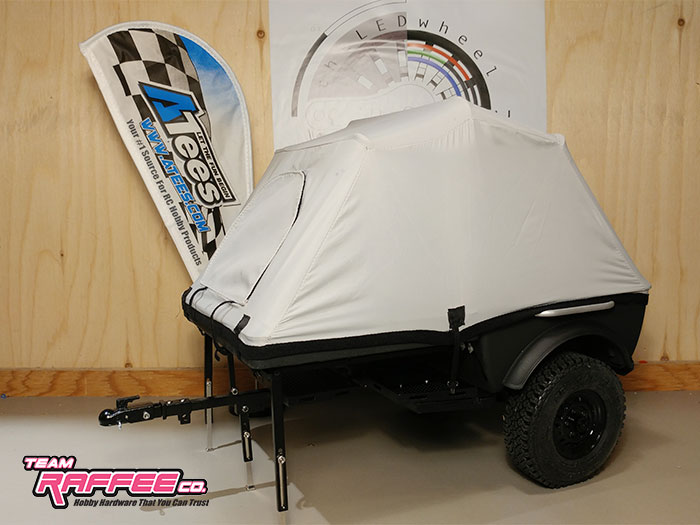
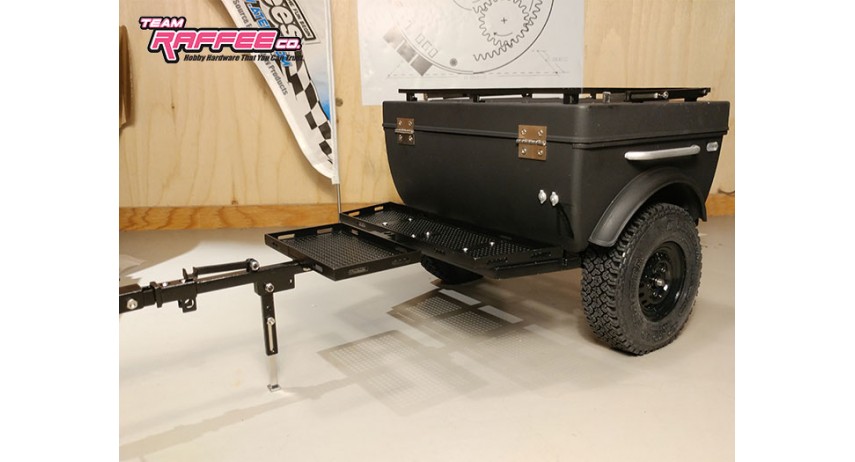
I recently got my hands on the new TRC Pop-Up Camper Trailer. I detailed my experience building this trailer. Here's what I thought.
Let me start by saying that for me this was not an easy build. I’m not saying this to discourage anyone as its well worth the effort. The finished product is awesome. It just requires a little more effort and attention in my opinion.
So here is what is needed:
-1.5mm and 2mm Hex drivers
-Precision Phillips screwdrivers(the tiny ones used for watches and such)
-Long nose pliers
-Hobby knife
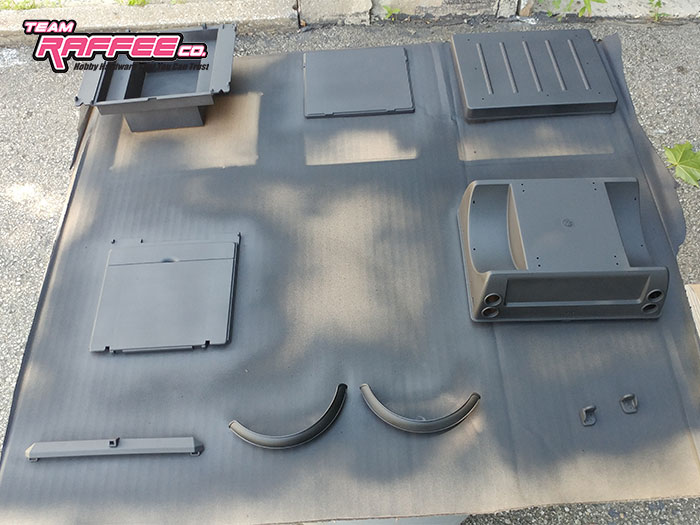
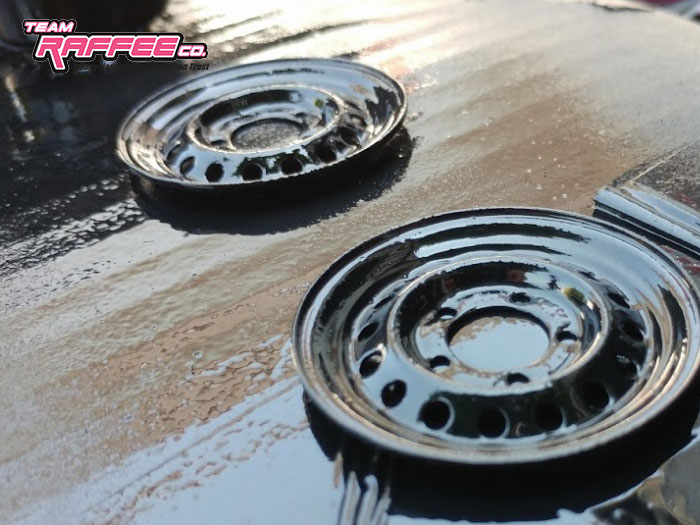
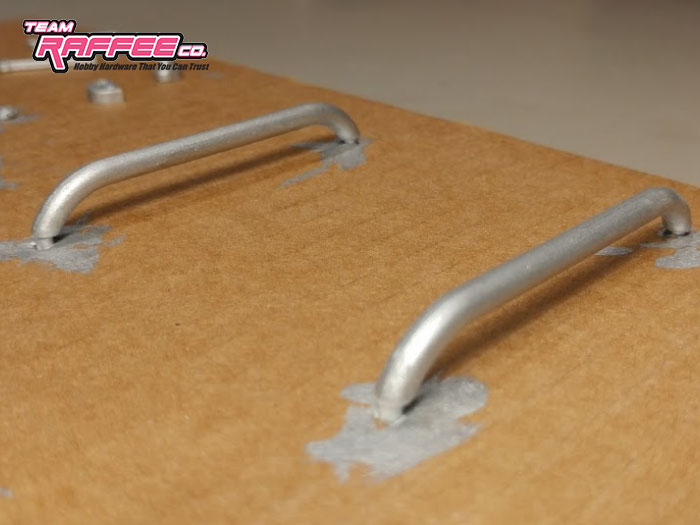
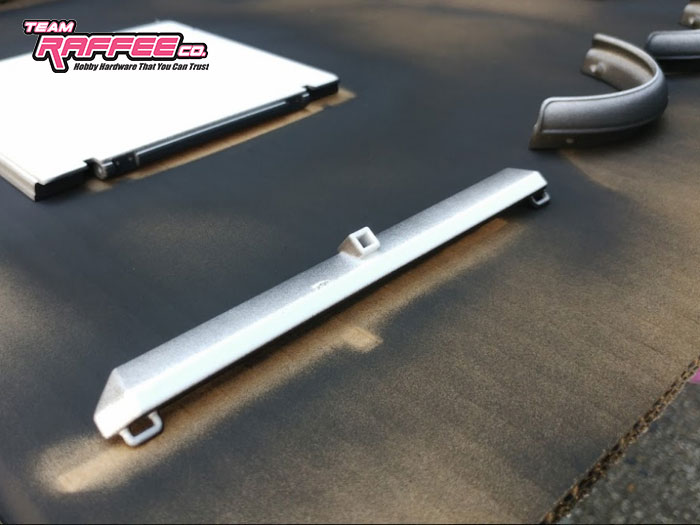
-Paint(I used spray paint for the body and Brushed on paint for details)
-Liquid thread lock (light to medium strength)
-Patience
Little details that may help along the build:
-REALLY REALLY Pay attention to the screw models being requested. The writing is small on the plans( I needed a magnifying glass). On page 5 of the manual they show you what the screws look like.
-The plans are not linear and require you to make some logical decisions as to what has to be assembled first.
-Go through the plans a few times paying attention to detail.
-Paint everything a day or two before the build allowing the paint to cure.
-Sort out your screws and nuts ahead of time into little dishes or containers.
This build took me about 6 hours but I was filming as I went along and made some mistakes with screws so had to go back and change them. Hopefully this blog will prevent you from making the same mistake. I am thinking it can be assembled in about 2 hours by Experts and 3 to 4 hours for Beginners.
In my kit I was missing 4 x M2 Lock Nuts (nut st-m2). There should be 20 in the kit. If not do the following because you absolutely need those lock nuts later on in the manual. On page 2 of the manuel they ask that you use 8 x M2 Lock nuts on the large hinges that hold the cover onto the base. Instead, use 4 regular M2 nuts and keep the 4 M2 Lock nuts to install the tent supports on page 3.
On page 3 i strongly suggest you install part number 47 before parts 42 and 43. You may need to scrape a little paint off the parts where they fit together.
Mounting the bumper onto the chassis required 2 M2x10mm screws as the provided M2x8 were not long enough on account that the chassis does not have the slots for the nuts.
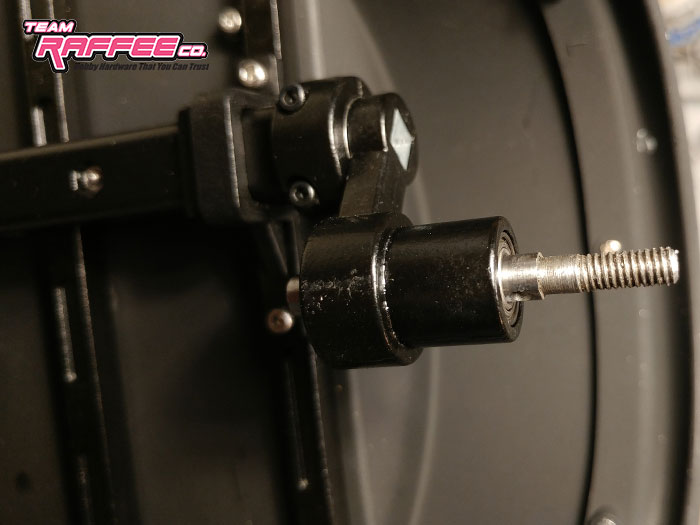
And the last little piece of info I can give you is that the wheel hexes are a bit too shallow for the axles so you will need some spacers/washers behind the M4 Lock nut. On this same note, the kit provides you with 2 x M4 Flanged Lock Nuts, If possible, use M4 Lock nuts with no flange as the flanged ones prevent the Wheel Center cap from being screwed in all the way.
Closing note:
In my 40+ years experience in RC I have come to realize that many kits build details and Manuals are lacking in some way or another. I have built many kits and the ones that stand out as far as build manuals are Tamiya and Associated. Both of which are quite old as far as RC goes. I think some of the newer companies could learn a thing or two from viewing just one Tamiya manual. Of course, making such a manual is time consuming. However it would bring the users experience up to another level.
Thanks for reading..
